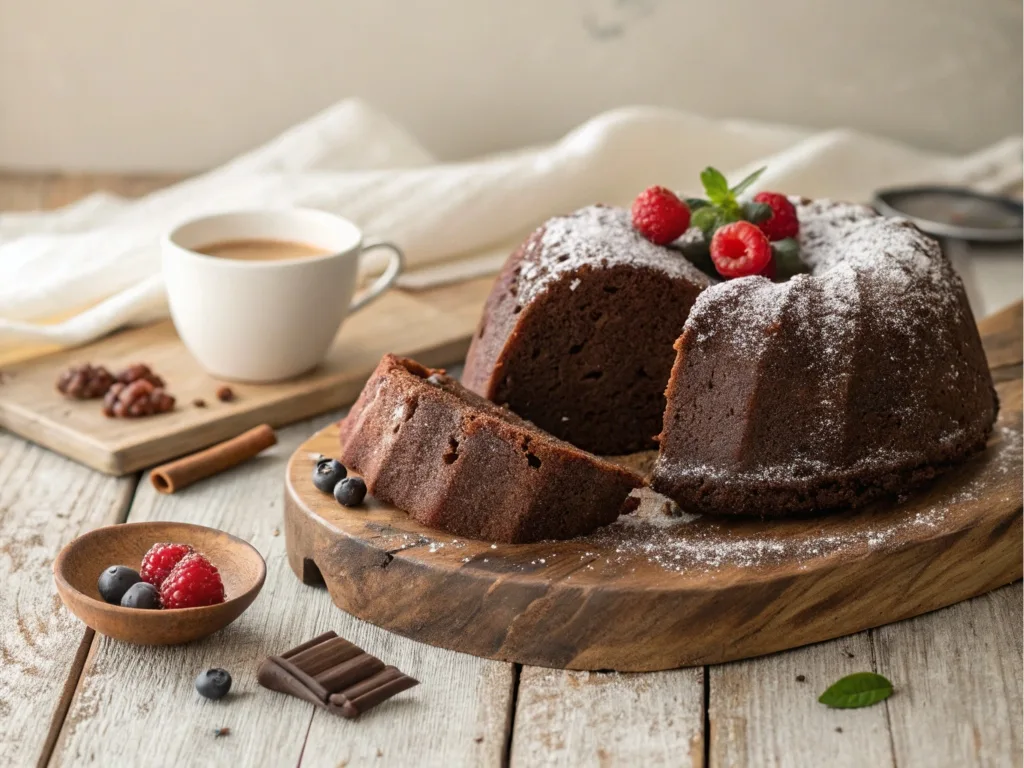
Few desserts evoke indulgence and nostalgia like a chocolate pound cake. Moist, dense, and timeless, it’s perfect for any occasion. In this blog, we’ll uncover the secrets to crafting the ultimate chocolate pound cake, complete with a recipe, tips, and variations to elevate your baking game.
What Is Old Fashioned Chocolate Pound Cake and Why Is It So Special?
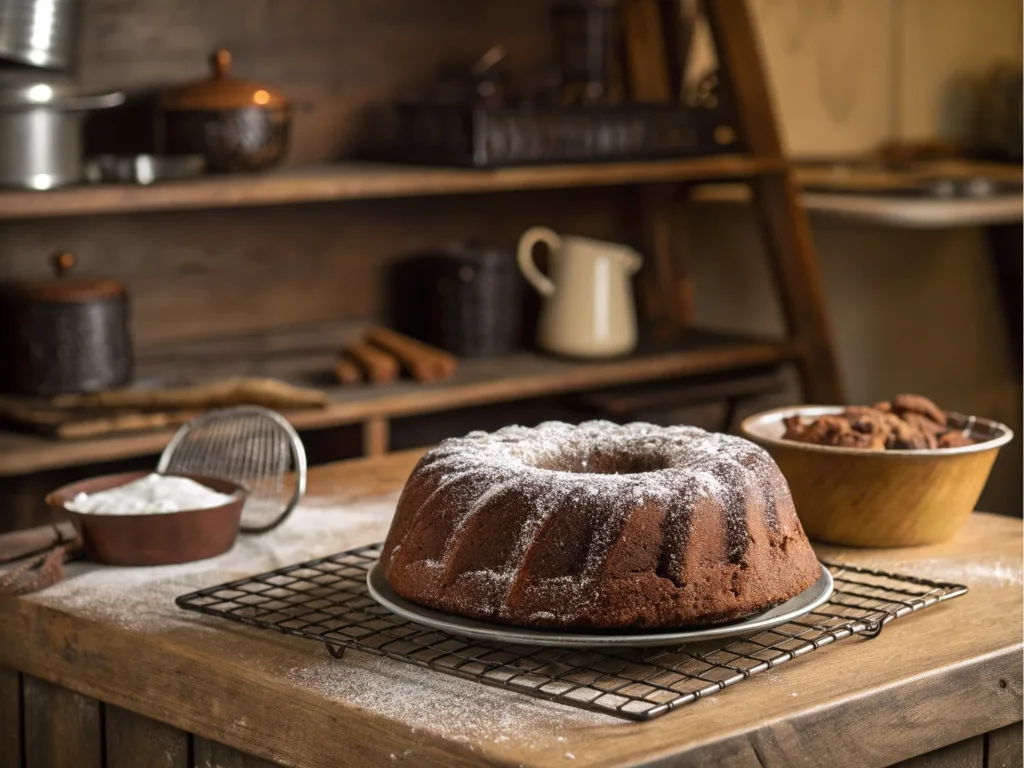
An old-fashioned chocolate pound cake is a timeless dessert. It gets its name from its original recipe: a pound each of butter, flour, sugar, and eggs. Over the years, bakers have refined the formula to improve flavor and texture. Adding cocoa transforms the classic pound cake into a rich, chocolatey delight. If you love the simplicity of the original, the chocolate version will take it to the next level.
An old-fashioned chocolate pound cake stands out for its dense yet moist crumb. It pairs perfectly with a glass of milk or a scoop of vanilla ice cream. In many families, this recipe is passed down through generations. It has become a staple at reunions and holiday celebrations. Having this cake in your baking repertoire is like owning an antique treasure. It is timeless, comforting, and consistently delicious.
For those who enjoy exploring nostalgic recipes, check out our Coffee Cake Recipe with Oatmeal Streusel for another timeless dessert option.
How to Make Chocolate Pound Cake from Scratch?
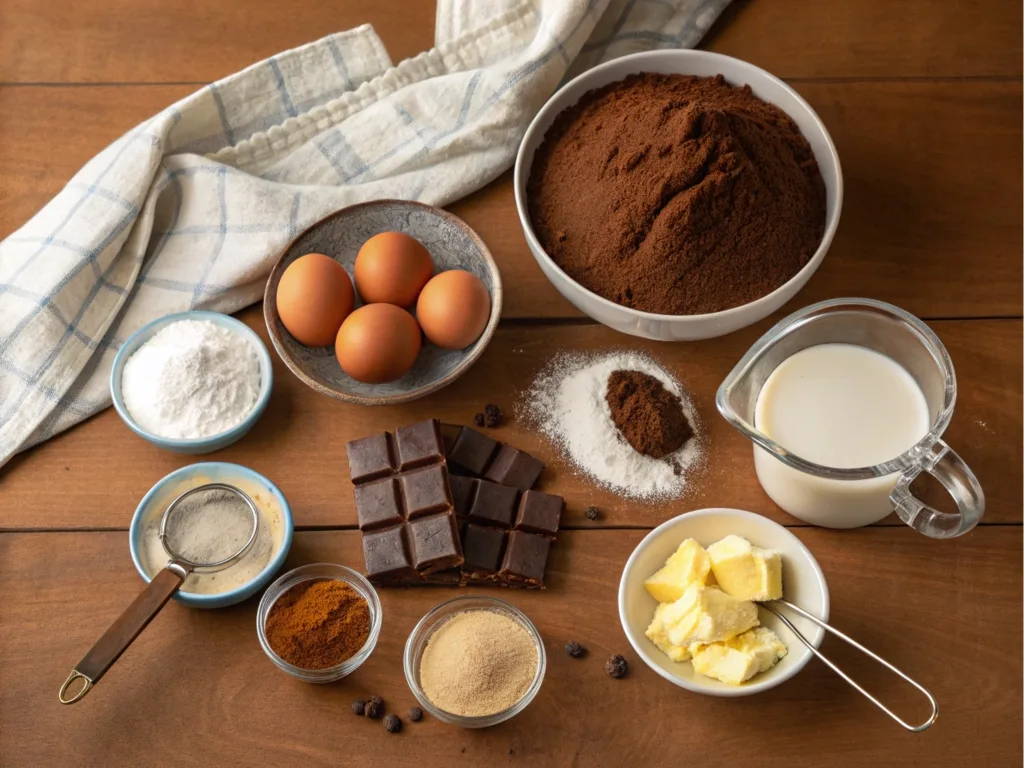
Are you curious about how to make chocolate pound cake at home, step by step? The best advice is to preheat your oven first. This make sur it reaches the correct temperature when you’re ready to pan and bake. Use room-temperature ingredients like softened butter, eggs, and milk. These help the batter blend into a light and fluffy mixture.
Next, you’ll want to cream together the butter and sugar until light. In the bowl of a stand mixer (or a large mixing bowl with a hand mixer), add sugar and softened butter. Cream them together for three to five minutes. This step traps air and creates a moist, tender crumb. Next, incorporate eggs, vanilla extract, and your flour mixture. The flour mixture should include all-purpose flour, cake flour, and cocoa powder (unsweetened or Dutch-process, depending on your preference). Mix the ingredients slowly until they form a cohesive batter.
To determine the doneness, you can insert a toothpick into the center of the cake; if it comes out clean, your cake is ready. If it’s still sticky or has raw batter, it needs to bake longer. Once fully baked, allow the cake to sit for 5 minutes in the cake pan or bundt pan, then carefully turn it out onto a cooling rack. Let it cool completely before you slice and serve—if you can wait that long!
Which Ingredients Perfectly Capture That Decadent Chocolate Flavor?
To nail the decadent taste of a chocolate pound cake, certain ingredients are non-negotiable. Firstly, you need a rich cocoa base—many bakers use cocoa powder or unsweetened cocoa powder (particularly dutch-process for a deeper color) to get that intense chocolate flavor. Then you have the semisweet chocolate option, often melted and folded into the batter for extra richness.
Another key component is cream. While a classic pound cake relies on butter for the fat, many modern variations incorporate sour cream or even a bit of vegetable oil to keep the crumb extra moist. A small touch of dark brown sugar in combination with granulated sugar can also deepen the flavor profile. Finally, a dash of vanilla extract brings out the subtle sweetness that compliments the chocolate. This combination of cocoa, sugar, butter, and cream make sur you produce a moist pound cake that stands out from other cake recipes.
Bundt Pan or Loaf Pan: Which Is Better for Baking a Pound Cake?
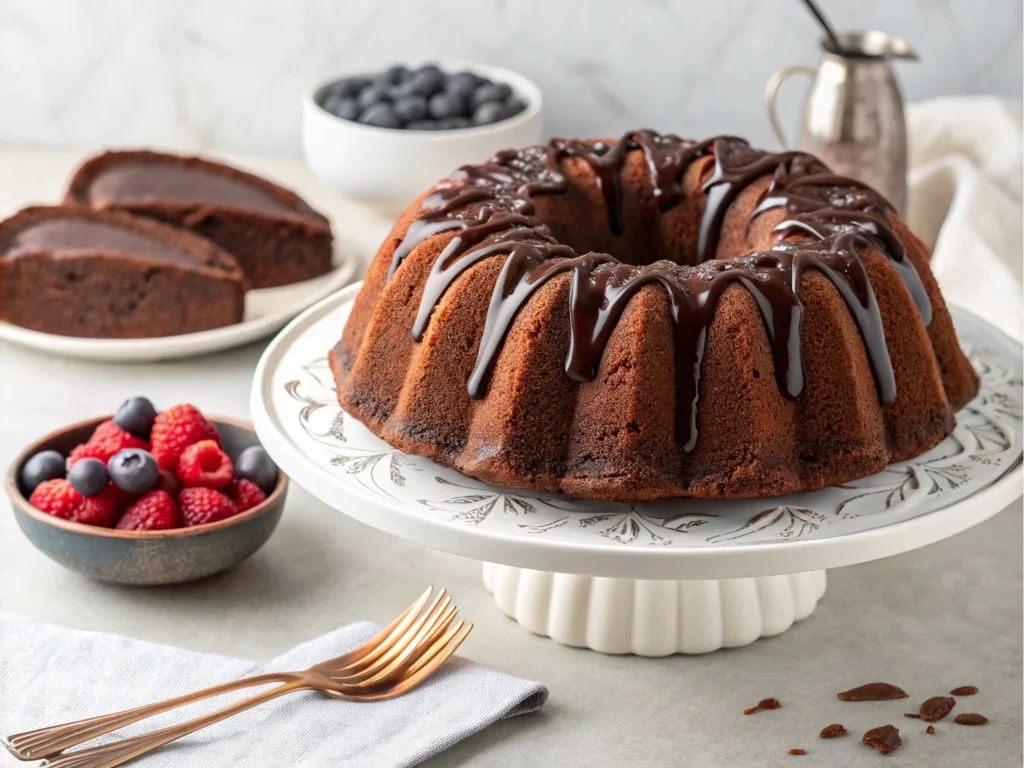
When baking a pound cake, the shape and material of the pan you use can make a big difference in the final result. Traditional pound cakes were often baked in a tube pan, but these days, many home bakers love using a bundt pan for a decorative finish or a loaf pan for easier slicing.
Bundt pan:
- A bundt pan, often with intricate patterns, lets the cake bake evenly while creating a show-stopping shape. This pan also allows more edges to develop a slightly crispy exterior, which many people find delicious. If you want to frost your cake or drizzle a chocolate glaze, the ridges of a bundt pan help capture every bit of sweetness.
Loaf pan:
- A loaf pan is best if you’re aiming for a more classic, rectangular shape that’s easy to whip up and store. A prepared loaf pan lined with parchment paper or greased thoroughly will help ensure your chocolate pound cake doesn’t stick. After it bakes for about 1 hour, test with a toothpick; if it’s inserted into the center and comes out clean, you know the center of the loaf is fully baked.
Both pans can yield excellent results. If you’re baking to impress, go for the bundt look. If you want a simpler style, try the loaf pan approach, which is especially handy if you plan to store leftovers in an airtight container for a few days.
Could You Turn This Chocolate Pound Cake into a Round Cake or Cupcakes?
You may be wondering if you can transform this batter into a round cake or even cupcakes. Absolutely! A solid chocolate pound cake recipe can be quite versatile:
- Round cake: Using a traditional cake pan can give you more layers if you decide to slice it horizontally and fill it with whipped cream or chocolate ganache. Just be mindful of baking times; a thinner layer in a round cake pan may require checking for doneness a bit earlier. If a toothpick inserted into the center still shows wet batter, the cake needs to bake longer.
- Cupcakes: You can pour the batter into a cupcake tray lined with paper liners. This makes it convenient to slice and serve individually and is an excellent way to share with guests at larger gatherings. Keep in mind that the baking time will be shorter—start checking for doneness around the 20-minute mark.
The inherent richness of chocolate pound cake batter makes it adaptable for multiple shapes. Just keep an eye on the oven and remember that a nice golden-brown crust plus a toothpick that comes out clean are your best indicators that your baking is successful.
Is This the Best Chocolate Pound Cake for Beginners?
Many people love this recipe for an old-fashioned chocolate pound cake because it is straightforward, even for beginners. It’s perfect for those who prefer desserts without advanced decorating skills. Once you master blending butter and sugar and sifting flour and cocoa, the rest falls into place.
Using a mixer—like a stand or hand mixer—can help you thoroughly incorporate all ingredients without too much elbow grease. You’ll especially appreciate how this kind of cake is forgiving: if you follow the steps carefully and ensure your baking time is about 1 hour (or until the center comes out clean), you’ll likely succeed. Plus, it’s a perfect starting point if you plan to experiment with more intricate pound cake recipes later on. With this foundation, you’ll be able to explore a range of new flavors and add-ons.
How Does a Cookbook Help You Bake the Perfect Moist Pound Cake?
A reliable cookbook is a baker’s best friend, especially for classic desserts like chocolate pound cake. Older or Southern-focused cookbooks often offer trusted recipes and tips for consistent results.
Using a cookbook written by expert bakers can boost your confidence in baking. For example, it might suggest sifting all-purpose flour, cake flour, and cocoa to prevent lumps. This technique ensures an even crumb in the final product. You may also learn tips like making chocolate ganache or properly dusting with powdered sugar. Paying attention to these details can elevate a simple cake into a stunning showpiece.
How to Achieve the Ideal Texture for an Old Fashioned Chocolate Pound Cake?
Achieving that perfectly dense yet moist pound cake texture involves a few meticulous steps. First, always cream your butter and sugar until light. This step is vital because it creates air pockets that expand during baking, making the interior of the cake tender rather than overly heavy.
Next, incorporate ingredients in stages: after creaming the butter and sugar, add eggs one by one. Follow this with alternating additions of the flour and cocoa mixture and any liquid elements, such as one cup of milk or cream. Overbeating at this stage can make the cake tough, so mix until just combined, scraping the sides of the bowl to ensure everything is well integrated.
Finally, be mindful of the baking time and temperature. Most chocolate pound cake batters do well in a preheated oven (somewhere between 325°F and 350°F) for about 1 hour or until a toothpick inserted into the center indicates doneness. If the center should come out undercooked, it simply needs to bake longer. And remember to let the cake rest in the pan for about pan for 10 minutes before removing it, so it holds its shape.
Looking for Cake Recipes with a Twist?
If you’re on the lookout for new recipes or a special twist on your standard cake routine, this decadent chocolate pound cake might be exactly what you need. It’s an ideal gateway into more adventurous baking because it can be easily adapted to include flavorful syrups, glazes, or add-ins like chocolate chips or chopped nuts. You can even frost it with sweetened cream cheese icing or top it with a luscious chocolate glaze or ganache.
For a particularly decadent experience, drizzle warm chocolate ganache on top, letting it cascade into the crevices of your bundt shape. Alternatively, keep it simple by sprinkling a little powdered sugar across the top and finishing it with fresh berries. Because this cake is so versatile, many bakers say, “I just love this recipe!” You can find an endless array of suggestions in baking forums or your favorite foodie newsletters. Once you try it, you’ll be glad I found such a reliable and comforting treat.
How to Store and Serve Your Chocolate Pound Cake Masterpiece?
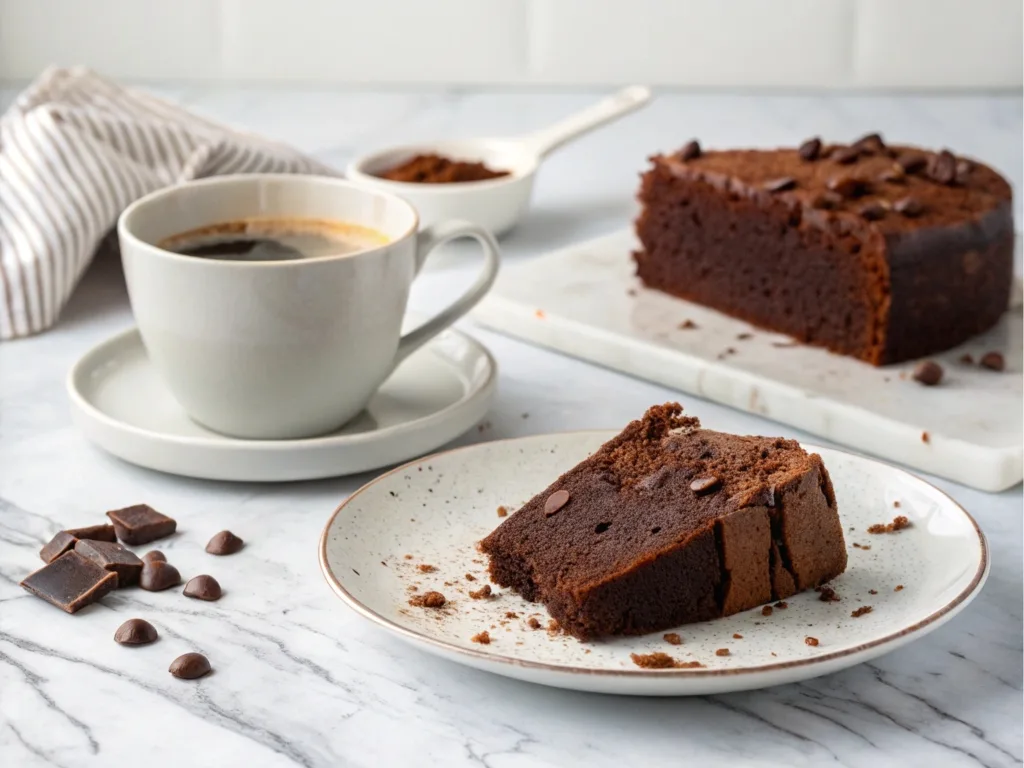
Once your cake made from a fashioned chocolate pound cake recipe is out of the oven and cooled, you’ll want to store any leftovers properly. Wrap it in plastic wrap or place it in an airtight container at room temperature for up to 3 days. This will help keep it from drying out. If you want a longer shelf life, consider refrigerating it in an airtight container or freezing it. However, freezing might slightly alter the texture; simply thaw it thoroughly on a wire rack to cool at room temperature before serving.
When it’s time to serve, you can slice and serve with a bit of fresh fruit, a drizzle of chocolate glaze, or even a dollop of whipped cream. Some people also enjoy pairing a slice with a coffee or cappuccino for a midday pick-me-up. If you prefer a more refreshing take, dust it with powdered sugar and add fruit compote on top. However you choose, the outcome is always a crowd-pleasing showstopper. Just be sure to batter into the prepared pan carefully at the beginning and follow each step closely, and you’ll have success every time.
Putting It All Together: A Step-by-Step Outline
Below is a concise outline of how you might prepare this old fashioned chocolate pound cake in your own kitchen. This method ensures maximum flavor and consistent results:
- Gather Your Ingredients
- Ensure you have softened butter, sugar, vanilla extract, cocoa powder, all-purpose flour, cake flour, eggs, dark brown sugar, sour cream or vegetable oil (optional), and any extra flavorings you’d like.
- Preheat the Oven
- Preheat the oven to 325–350°F before you begin mixing the batter.
- Cream Together the Butter and Sugar
- In the bowl of a stand mixer with the paddle attachment, combine butter and sugar. Beat until it is pale and fluffy, about three minutes.
- Add Eggs One at a Time
- Crack eggs in one at a time, ensuring each is fully mixed before adding the next. Scrape down the sides of the bowl to incorporate all ingredients evenly.
- Combine Dry Ingredients
- Sift flour and cocoa together to avoid lumps. This mixture can include unsweetened cocoa powder or dutch-process cocoa for intense flavor.
- Alternate Dry and Liquid Additions
- Gently fold the dry ingredients into the creamed mixture, alternating with wet ingredients (milk, sour cream, or vegetable oil). Mixture and mix until just combined, avoiding overbeating.
- Prepare Your Pan
- Grease or line your chosen bundt pan, loaf pan, or round cake pan with parchment paper (if needed). Pour the batter into the prepared pan.
- Pan and Bake
- Place the pan in your preheated oven. Expect it to bake for about 1 hour, though you should check at the 50-minute mark with a toothpick. If the inserted into the center toothpick comes out clean, the cake is done.
- Cool and Decorate
- Let the cake rest in the pan for about pan for 10 minutes, then carefully remove it onto a cooling rack. Allow it to cool completely before decorating. A simple chocolate ganache drizzle or powdered sugar dusting makes for a stunning presentation.
- Slice and Serve
- Once cooled, slice and serve with fresh fruit, whipped cream, or a scoop of vanilla ice cream. Or simply enjoy it on its own!
Bullet Point Summary of Important Takeaways
- Room Temperature Ingredients: Ensuring your butter, eggs, and other dairy items are at room temperature makes it easier to cream them together and achieve a uniform batter.
- Butter and Sugar Until Light: The most crucial step for a dense yet tender crumb—take the time to whip them well.
- Choosing the Right Pan: Whether it’s a bundt pan, tube pan, loaf pan, or even a round cake pan, each yields a slightly different final look.
- Check for Doneness: A toothpick test is key—if it comes out clean, you’re good to go. If not, the cake simply needs to bake longer.
- Flavor Boosters: Add semisweet chocolate, dark brown sugar, or sour cream for extra moisture and richness, and consider a final flourish with chocolate glaze or frost the top if you prefer.
- Storage: Wrapped in plastic wrap or placed in an airtight container, your decadent chocolate pound cake can remain fresh at room temperature for several days, or freeze it for future cravings.
- Variations: Explore creative ways to top or fill your cake—chocolate ganache, fruit toppings, or even a swirl of whipped cream can elevate the entire dessert.
- Old Fashioned Tradition: This old fashioned chocolate pound cake is derived from classic pound cake origins, so it’s a time-tested treat perfect for celebrating milestones, holidays, or any time you need a sweet pick-me-up.
- Cookbook Wisdom: Consulting a trusted cookbook can offer valuable tips and reassure you through every step of the baking process.
- Love This Recipe: Once you try it, you’ll understand why so many people say, “I just love this recipe!” It’s versatile, comforting, and guaranteed to impress.
Thanks for reading, and thanks for your question about how to make chocolate pound cake from scratch. We hope these insights and tips help you bake an unforgettable dessert. Whether you’re a novice baker or a seasoned pro, this fashioned chocolate pound cake recipe has the power to bring a big dose of nostalgia and warmth to your kitchen. Enjoy every rich bite—and happy baking!

